How to Make Your Own Natural Facial Serum with Plant Oils
Struggling to find a natural facial serum that really works for you? We’ll guide you step-by-step to create your own formula using plant oils and natural actives, with tips on dosages and storage.
Want a natural facial serum tailored to your skin, but the options on the market often leave you unsure? Between unclear ingredients and textures that just don’t suit you, we know how frustrating it can be. Luckily, making your own serum with plant oils is totally doable for everyone, giving you a custom, effective treatment with zero unnecessary chemicals.
Why Make Your Own Facial Serum?
Honestly, here’s what no one tells you: ready-made serums are often overloaded with unnecessary or even irritating ingredients. When you make your own, you control everything—from texture to the concentration of actives. It’s also a fantastic way to really get to know the benefits of plant oils and natural ingredients.
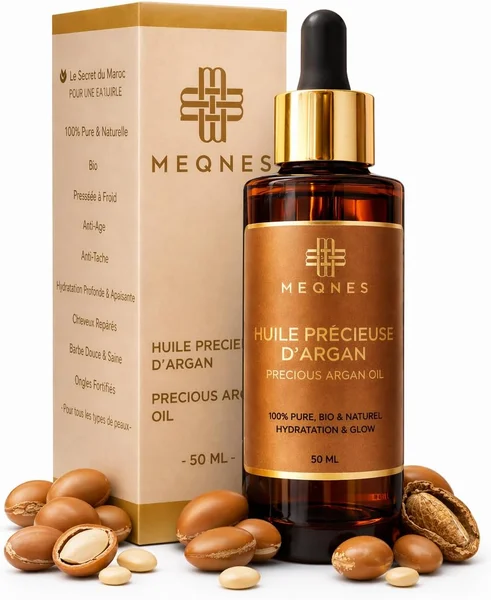
Choose your base plant oil: opt for cold-pressed, preferably organic oils. Argan oil is a Moroccan classic, rich in vitamin E, perfect for nourishing and protecting.
Add lighter or targeted oils: jojoba oil to balance, rosehip oil for anti-aging, black seed oil to soothe.
Incorporate natural actives: vitamin E (antioxidant), essential oils (use sparingly, max 0.5%), plant extracts for hydration or gentle exfoliation.
Respect dosages: the oil base usually makes up 95-98% of the formula, with concentrated actives at 2-5% max to avoid irritation.
💡 Our tip: start with small batches, like 10 ml, to test your skin’s tolerance before making a larger batch.
How to Dose and Store Your Homemade Serum
Proper storage is key to keeping your serum effective and safe. Even cold-pressed oils can go rancid quickly if not stored properly.
Use a tinted glass bottle to protect from light.
Store your serum away from heat and humidity, ideally in a cool place.
Add natural vitamin E as an antioxidant preservative, at 0.5 to 1% of the volume.
Note the manufacturing date and use your serum within 3 months.
⚠️ Avoid: never exceed 1% essential oils in your serum to prevent severe irritation.
Tips for a Successful Plant Oil Facial Serum
Always patch test your serum on a small skin area before full use.
Adjust the formula according to the season: richer in winter, lighter in summer.
Choose oils suited to your skin type: jojoba or black seed for combination skin, argan or rosehip for dry skin.
Include natural anti-aging actives like rosehip oil, known for its regenerative properties.
💡 Our tip: for a lighter texture, add a bit of hazelnut or grape seed oil—they’re light and absorb quickly.
The Unique Benefits of Moroccan Plant Oils in Facial Serums
Morocco is a true treasure trove of plant oils, famed for their richness and benefits. Argan oil, often called "liquid gold," is especially prized for its high vitamin E and essential fatty acid content, deeply nourishing the skin and protecting against premature aging. Meanwhile, prickly pear seed oil, though rarer, is an excellent anti-aging active thanks to its antioxidants and unsaturated fatty acids. Incorporating these oils into your homemade serum ensures a reparative and protective effect while celebrating local natural heritage.
Additionally, rosehip oil, although not exclusively Moroccan, is widely used in natural cosmetics in Morocco for its regenerative and healing properties. Combining these oils with local plant extracts creates a facial serum that not only hydrates but deeply revitalizes your skin, restoring radiance and suppleness.
Common Mistakes to Avoid When Formulating Your Serum
Making your own serum requires some care to avoid common pitfalls. The most frequent mistake is overloading the formula with too many essential oils or concentrated actives, which can cause irritation and allergies. It’s crucial to stick to recommended dosages, especially never exceeding 1% essential oils, to keep the serum gentle.
Another misstep is neglecting storage. Poorly stored serum loses its effectiveness and can even become a breeding ground for bacteria. Always use a tinted glass bottle, keep the product cool and dry, and note the manufacturing date to not exceed the recommended 3 months of use.
Finally, it’s tempting to add multiple very rich oils, which can weigh down the texture and make the serum hard to absorb. To avoid this, opt for a lighter base like jojoba or grape seed oil if you have combination or oily skin, ensuring a pleasant feel and quick absorption.
How to Incorporate Your Oil Serum into Your Daily Beauty Routine
Once your serum is formulated and ready, the next step is fitting it into your skincare routine. Oil serums are best applied last, after your moisturizer, or directly on clean skin if you prefer a lighter feel. Just a few drops warmed between your palms for better absorption.
Use it morning and night, adjusting the amount by season: a bit more generously in winter to combat dryness, and more sparingly in summer to avoid a greasy feel. Gentle massage during application boosts circulation and enhances active absorption.
Don’t hesitate to tweak your serum’s formula over time based on your skin’s needs by swapping oils or adding specific actives, for a truly personalized and evolving routine.
In Summary
Making your own facial serum with plant oils is not only a creative joy but also an effective way to have a natural, 100% personalized, and transparent skincare product. Honestly, here’s what no one tells you: it’s far from complicated and truly changes the game for healthy, glowing skin.
Our advice: if you take away just one thing, start by choosing your base oil carefully—it sets the whole potential of your serum. Then, keep an eye on dosages to avoid any unwanted effects. What we love: simplicity, naturalness, and total control over your beauty routine. What’s less fun: the need for careful storage.
In short, we highly recommend trying homemade formulation if you want a natural, effective, and tailor-made facial treatment without any nasty surprises.